
As we all know the pace of technology is forever moving forward and its no different in the drone world. The drones are getting smaller, lighter, smarter and can fly longer on each battery. I figured it was about time to upgrade this piece of technology in my photo world so I researched all of the options and decided that the Mavic Air 2 drone would be the one for me. 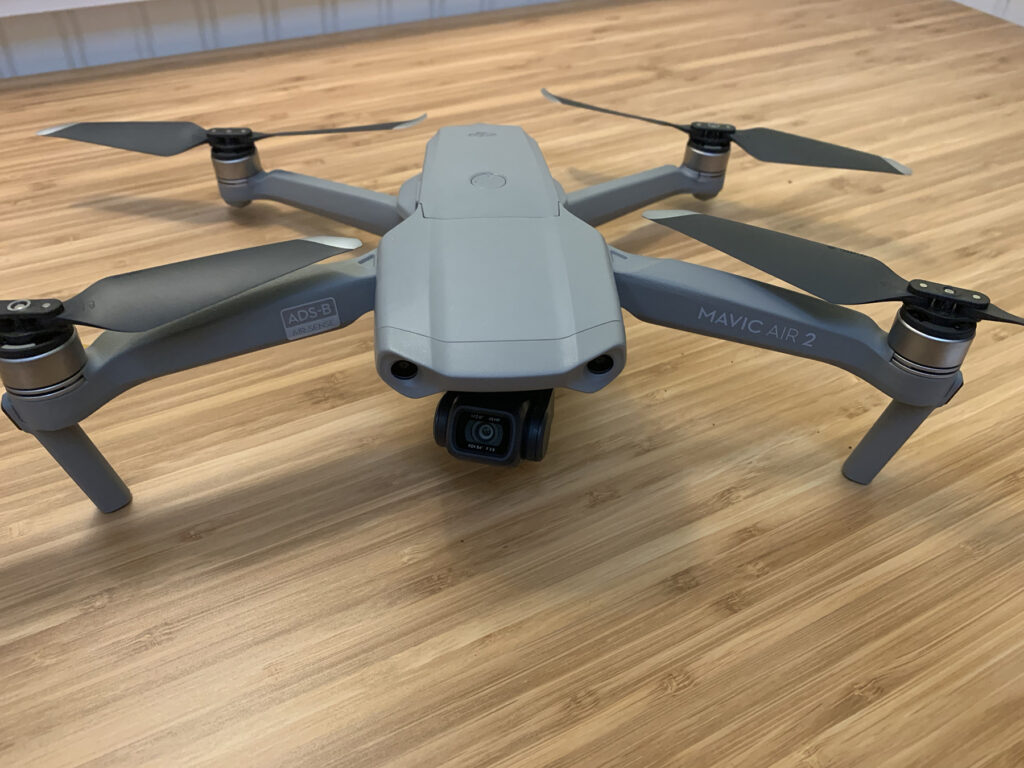 The Mavic Air 2 is incredibly small and packs a HUGE punch because it is stuffed with great quality image recording and lots of features to create the most cinematic footage possible. Each leg folds up and nestles against the body and
 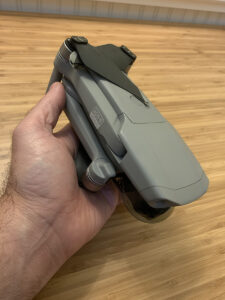 each propellor also folds in half and lays flat, making the Mavic Air 2 drone small enough to fit in a side pouch of a pack or a slot in your existing camera bag. No longer will I need to carry a huge extra backpack in order to bring my drone. Here are a few of the best features of this drone:
- Up to 4k 60fps video footage
- 48mp still images
- HDR video or stills
- Slow motion video
- Timelapse still images
- 8k hyperlapse images
- Occusync 2.0 for more reliable connectivity
And the list goes on and on and on!!!!!! There are ton of review videos on YouTube so I’m not going to go in to all of the details of this drone. I will say that upgrading this piece of camera equipment is huge for me and will bring improved quality of still images and video alike. I’ve only been out flying a couple of times to familiarize myself with the new controls and software. Since I already flew a DJI, using the updated software to control the Mavic Air 2 drone was an easy adaptation. Even if you’ve never flown before, the software and systems are intuitive and make it really easy for you to have a safe an enjoyable flight. If you are considering buying a Mavic Air 2 drone, let me give you the biggest piece of advice…spend the extra money up front and purchase the Fly More Combo!!! I can’t emphasize this enough. Don’t think about the incremental cost over the base price, just buy it. The Fly More Combo includes some key accessories that you will most likely end up buying anyways.
- 2 additional batteries
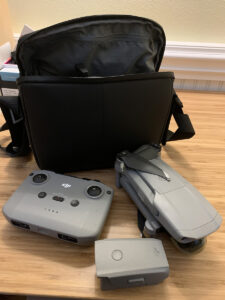
- Charging hub to charge all 3 batteries at once
- 3 Neutral Density filters
- Extra controller sticks
- Extra cables for connecting to different phones/tablets
- Carrying case
- and more…
The basic Mavic Air 2 drone costs $799. The Fly More Combo is priced at $999. Right now batteries are $115 apiece (and you will need more than one) so just getting two free batteries pays for the additional cost of the Fly More Combo. All of the other accessories are essentially “free” 🙂 With my past drone I used a full sized iPad, instead of a phone, on the controller to fly and operate my camera. I enjoyed the extra screen size to see the details and fine tune my shots. This was a heavy combination and I used a neck strap to help manage the weight and balance when flying. With the controller on the Mavic Air 2 drone, it is really sized for use with a phone. It works with both Apple and Android phones no problem. I have purchased an optional accessory that will allow me to use an iPad, although I haven’t used it yet. I need to purchase a longer cable than the one that is included. And, I’m not sure I want to start using an iPad, the reason being is to train/condition myself to fly with the phone instead because it’s something I always have with me and isn’t another piece of gear that I need to remember to bring. (and yes, I have gone out before to fly and “forgot” my iPad making for a short outing) The one accessory that I am very excited about using are some additional Neutral Density filters that I bought for my Mavic Air 2. I mentioned above that the Fly More Combo includes 3 neutral density filters. These are small filters that fit over the lens of the attached camera on the drone. You might wonder why you would use ND filters on a drone. Well, to create more cinematic looking video, the frame rate and shutter speed are important criteria to creating that cinematic look. If you are flying in the middle of the day or in bright sunlight, you won’t be able to achieve the desired shutter speeds for that cinematic look. ND filters are an essential piece of my aerial photography! This can be a big topic and if you’re interested, drop me a note and we can discuss or search it up and dive in to the depths of the details! The included filters are different strengths of filtering; ND16, ND64 and ND256. These look to be of good quality and should do nicely at these fixed values when they align with the available light that I’m filming in. 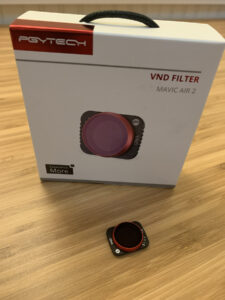 What I purchased was a pair of VARIABLE Neutral Density Filters from PGYTech. These provide the ability to dial in the amount of neutral density filtering that is ideal to achieve my desired shutter speeds. These come as either a 2-5 stop or a 6-9 stop filter. The filters are beautifully made and they fit perfectly on the Mavic Air 2 drone. I can’t wait to get out and fly with these! As photographers, we all probably have a lot of gear, from camera bodies to lenses to accessories and packs. I consider my drones also a part of my photography kit and need to occasionally upgrade them as the technology marches onward. The jump from the popular DJI Phantom Pro 3 to the Mavic Air 2 drone is a huge leap in technology and ease of use in a compact package. Its small size means that I will have the drone with me more frequently and the ease of use and programmed features means that I’ll be able to focus more on composition than on the act of flying. I’ll say it again, if you’re considering a new drone or adding a drone to your photography gear, I highly recommend the Mavic Air 2 drone in the Fly More Combo kit.
Leave A Comment